In this guide, you'll learn how to build a full-stack multi-tenant application by using the Platforms Starter Kit and the following technologies:
- Next.js App Router as the React framework
- Tailwind for CSS styling
- Tremor for beautiful charts
- Prisma as the ORM for database access
- Novel for the WYSIWYG editor
- Vercel Postgres as the database
- Vercel Blob for image uploads
- NextAuth.js for authentication
- Vercel for deployment, custom domains & free SSL certificates
The code for this app can be found here. You can also deploy this template to Vercel.
Features
At the end of this tutorial, you'll get a powerful full-stack application with the following features:
- Multi-tenancy – programmatically assign unlimited custom domains, subdomains, and SSL certificates to your users
- Ultra-performant blog posts cached via Vercel's Edge Network, with the ability to invalidate the cache on-demand (when users make changes) using Incremental Static Regeneration.
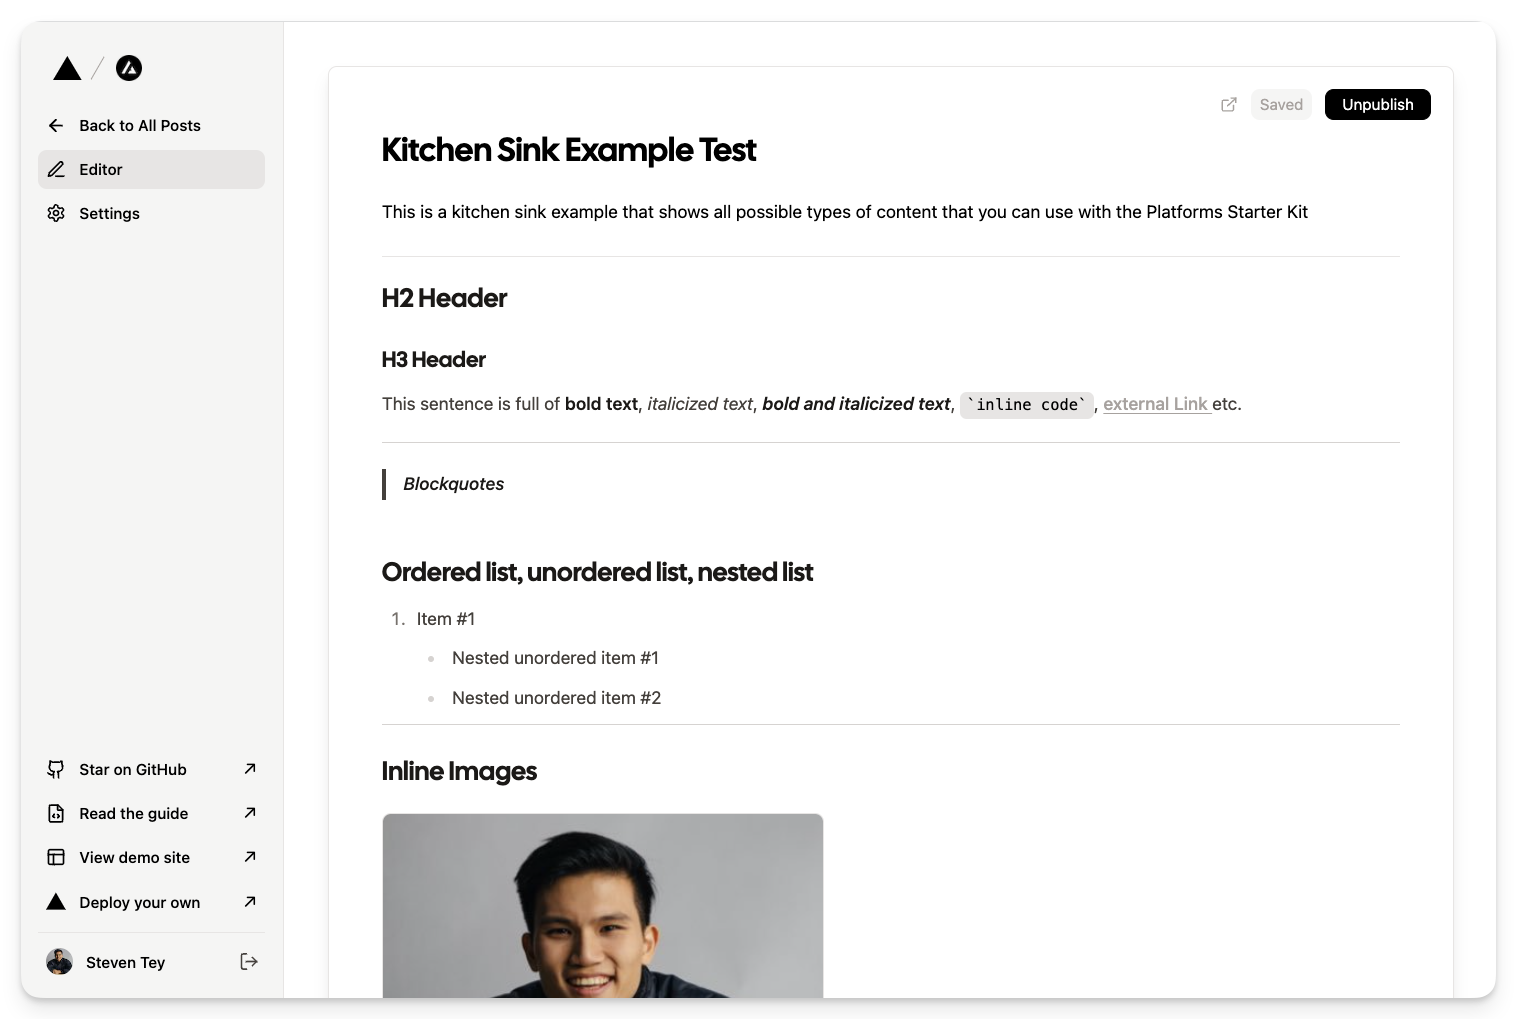
- AI powered Markdown editor for a Notion-style writing experience
- Drag & drop / copy & paste image uploads
- Custom fonts, 404 pages, favicons, sitemaps for each site
- Dynamic Open Graph images for each blog post

1. Set up your Next.js project
We’ll be using the Platforms Starter Kit to kickstart our Next.js project.
First, open up your terminal and navigate and run the following:
npx create-next-app --example https://github.com/vercel/platforms platformsThis will create a new folder in your current directory called platforms. Note that you might run into dependency tree resolving issues during this step, but you can safely ignore it.
Once this step is complete, navigate into the folder and launch the app with pnpm:
cd platforms && pnpm i && pnpm devThe new application has the following structure:
app/ api/ app/ (auth) login/page.tsx layout.tsx (dashboard) post/[id] settings/ site/[id] sites/ layout.tsx loading.tsx page.tsx home/ page.tsx [domain] [slug]/ not-found.tsx opengraph-image.tsx page.tsx layout.tsx page.tsxAside from the /api folder, there are 3 main folders in the /app directory:
/app: All routes for the app subdomain (app.vercel.pub), where users can customize their individual content pages. As you can see, we're using route groups to customize the layout for theauthanddashboardpages./home: All routes for the landing page (vercel.pub). Note that in the example template, we have a middleware redirect that redirects this to the announcement blog post. Feel free to change that to rewrite to the/homeroute instead./[domain]: All routes for all custom domains & subdomains (e.g. demo.vercel.pub, steven.vercel.pub, platformize.co).
These folders contain the basic app structure for a multi-tenant app and leverages the latest Next.js App Router features like Server Actions, revalidateTag, dynamic OG images, etc.
2. Set up environment variables
To run this app, we'll need to set up the required environment variables.
To do that, convert the .env.example file that’s located at the root of the repo into a .env file.
Here are the set up instructions for each of the environment variables:
NEXT_PUBLIC_ROOT_DOMAIN: This is the domain of your app (e.g.vercel.app, okta.com,hashnode.devetc.)POSTGRES_PRISMA_URL, POSTGRES_URL_NON_POOLING: Follow the steps here to provision a Vercel Postgres instance. If you have already deployed the template, you can pull the env vars with the Vercel CLI by runningvc env pull(full docs here).BLOB_READ_WRITE_TOKEN: Follow the steps here to provision a Vercel Blob instance. If you have already deployed the template, you can pull the env vars with the Vercel CLI by runningvc env pull.NEXTAUTH_SECRET, AUTH_GITHUB_ID&AUTH_GITHUB_SECRET: These are the secrets required for GitHub OAuth and login via NextAuth.js. You can generate them here (caveat: the generator usesAUTH_SECRETinstead ofNEXTAUTH_SECRET, you'll have to change that accordingly).AUTH_BEARER_TOKEN: This is your Vercel authentication token that can be found here.PROJECT_ID_VERCEL: This is your Vercel Project ID that can be found in your Vercel Project settings page (https://vercel.com/<org>/<project>/settings). Since you haven't deployed your project to Vercel yet, you can leave this blank for now but remember to come back to add this after you've completed Step 5.TEAM_ID_VERCEL: This is your Vercel Team ID that can be found in your Vercel Team settings page (https://vercel.com/<org>/settings)OPENAI_API_KEY: Required for AI text generation in the text editor. Get one here.
NEXTAUTH_URL environment variable in your .env file and set the value to http://app.localhost:3000. You won't need to do this in production since NextAuth automatically detects the URL from your Vercel environment.3. Publish your Prisma Schema
The template comes pre-populated with the necessary Prisma schema for this app. All you need to do to publish this schema to your database is run the following command:
npx prisma db pushNote: If you have already cloned and deployed the template, you can skip this step, since the build script automatically runs prisma db push for you.
4. Update your NextAuth.js callback URLs
In step 2, we set up a GitHub app using the GitHub Client Generator.
However, we still need to customize the callback URLs for the GitHub App in order for the OAuth process to work properly
First, go to Developer Settings on GitHub and click on the GitHub app that you created earlier. Then, under the "Identifying and authorizing users" section, add the following 2 callback URLs:
http://app.localhost:3000/api/auth/callback/githubhttps://app.<YOURDOMAIN.COM>/api/auth/callback/github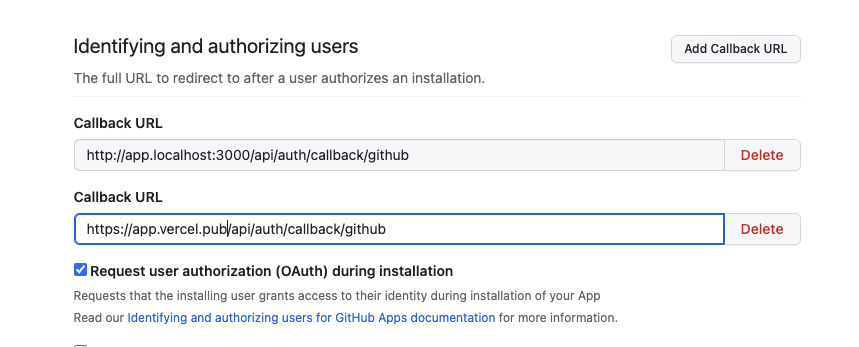
Save your changes, and you're all set! You can now go back to the app login page and log in with GitHub.
5. Deploy to Vercel
Finally, we’ll be deploying the repo to Vercel.
1. First, create a new Github repository and push your local changes.
2. Deploy it to Vercel. Ensure you add all environment variables that you configured earlier to Vercel during the import process.
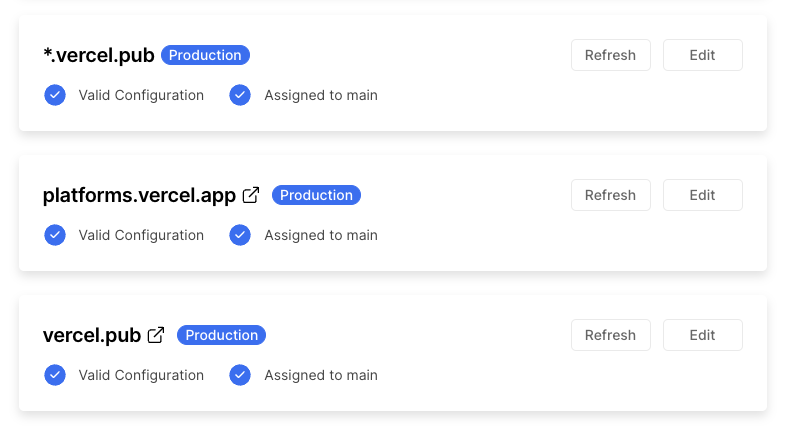
3. In your Vercel project, add your root domain & wildcard domain.
- When adding your custom domain, ignore the recommended step to "add the
www.version of your domain and redirect your root domain to it" – just add the root domain. - To set up wildcard domains, you'll need to add the domain using the Nameservers method (as opposed to the recommended A records method).
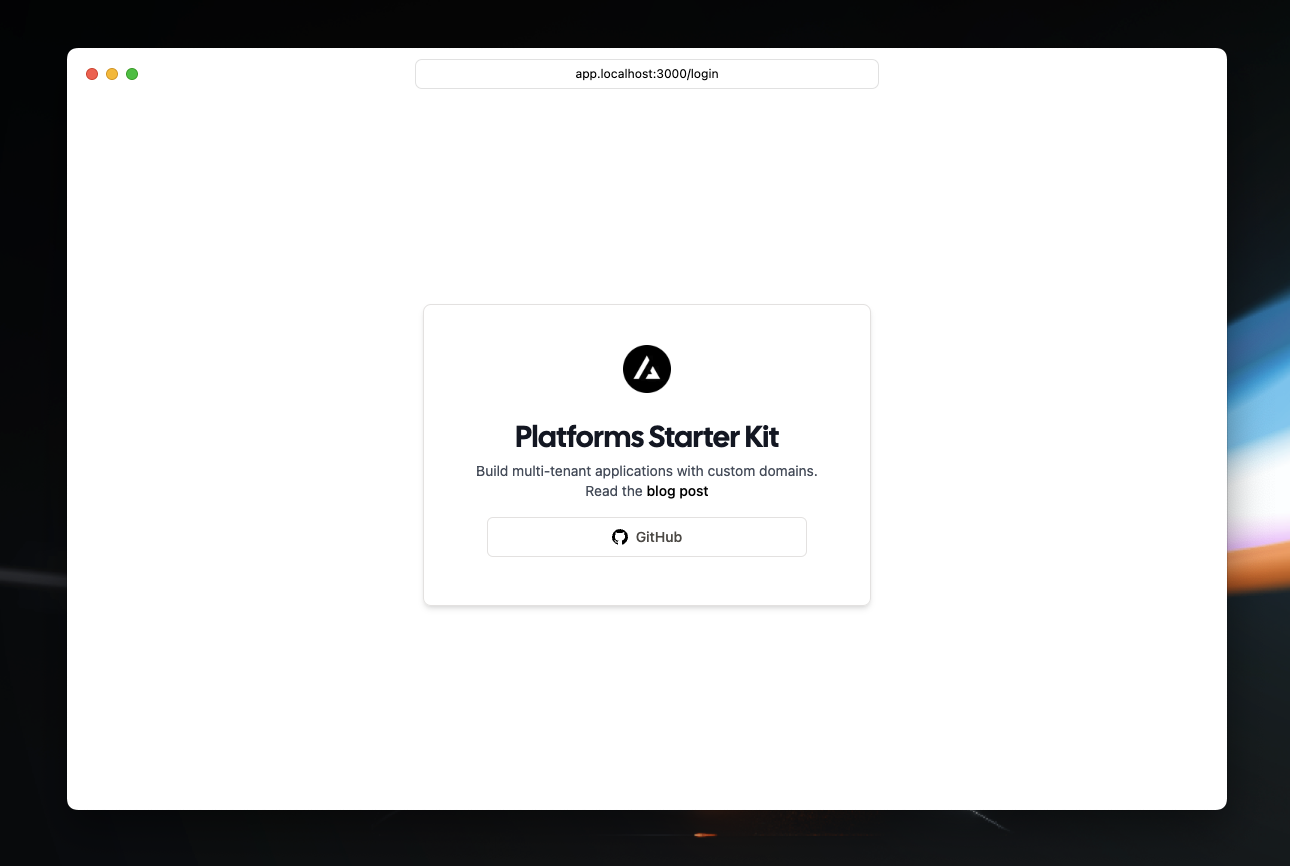
That's it – you can now go to app.<YOURDOMAIN.COM>, log in, and start creating some sites!
Caveats
Throughout this process, there are several caveats that you should pay attention to:
1. Handling duplicate content between subdomain and custom domain
You might've noticed that we are generating two different sites for subdomains and custom domains. There are a few ways you can improve on this:
- Redirect subdomain to custom domain if exists: We actually have a section in the code that lets you do that.
- Setting a canonical URL that points to the custom domain if it exists (refer code).
2. Allow adding and redirecting www. subdomains to apex domain
As a platform owner, you might want to allow your users to add www. subdomains along with their apex domain (and have the former redirect to the latter).
To achieve that behavior, you will need to make an additional API call to the Vercel Domains API to add the www. version for a domain and set a redirect attribute to make it redirect to the apex domain.
3. Multi-tenant Preview URLs (Enterprise only)
When pushing changes to your multi-tenant sites, you might want to preview them using Vercel Preview URLs. We are currently beta testing a feature for you to do that via Preview Deployment Suffixes:
- Preview URL:
<preview-subdomain>.yourdomain.dev - Multi-tenant preview URL:
<tenant-slug>---<preview-subdomain>.yourdomain.dev
Here's an example using the demo platforms app:
- Demo site: demo.vercel.pub
- Another site: steven.vercel.pub
- [PREVIEW] Demo site: demo---platforms-git-subdomain-previews.vercel.rocks
- [PREVIEW] Another site: steven---platforms-git-subdomain-previews.vercel.rocks
This feature is currently available for Enterprise customers on Vercel – if you're interested in testing it out, please reach out to your Customer Success Manager (CSM) and we will enable it for your preview deployment suffix.
Please note, there is also a 63 character limit so long branch URLs (including the <tenant-slug>--- section) may fail to resolve. To resolve this, you should use shorter branch names.
4. Sign-in With Google limitations in localhost
If you're using Google as an OAuth provider, you might run into an issue where Google does not allow you to add localhost subdomains as an Authorized redirect URI:
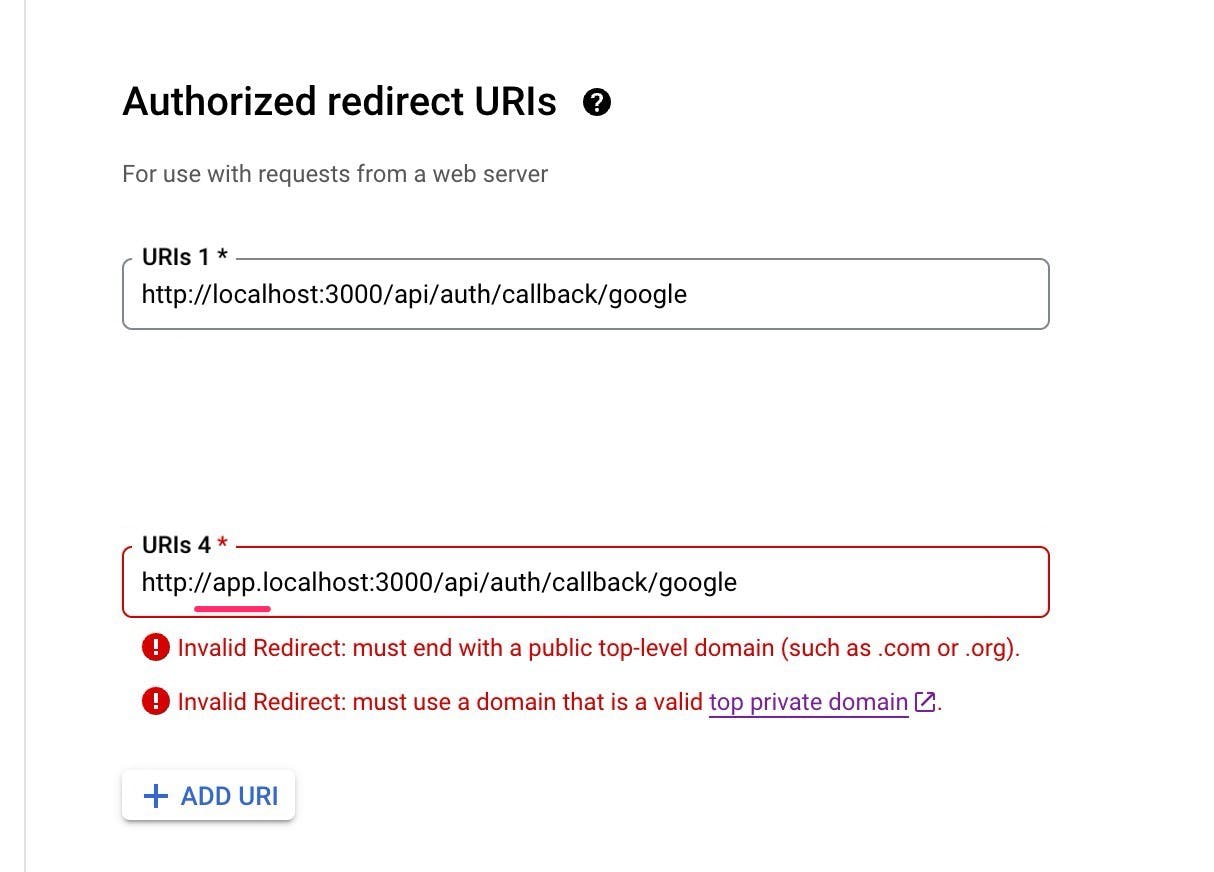
This is a known limitation – to fix this, you can just use a different localhost port (e.g. localhost:8888) in lieu of app.localhost:3000. You will need to update your NEXTAUTH_URL environment variable to reflext this change.
Bonus: Pageviews Analytics
You might notice that the analytics section of each site is filled with dummy data (with beautiful charts powered by Tremor):
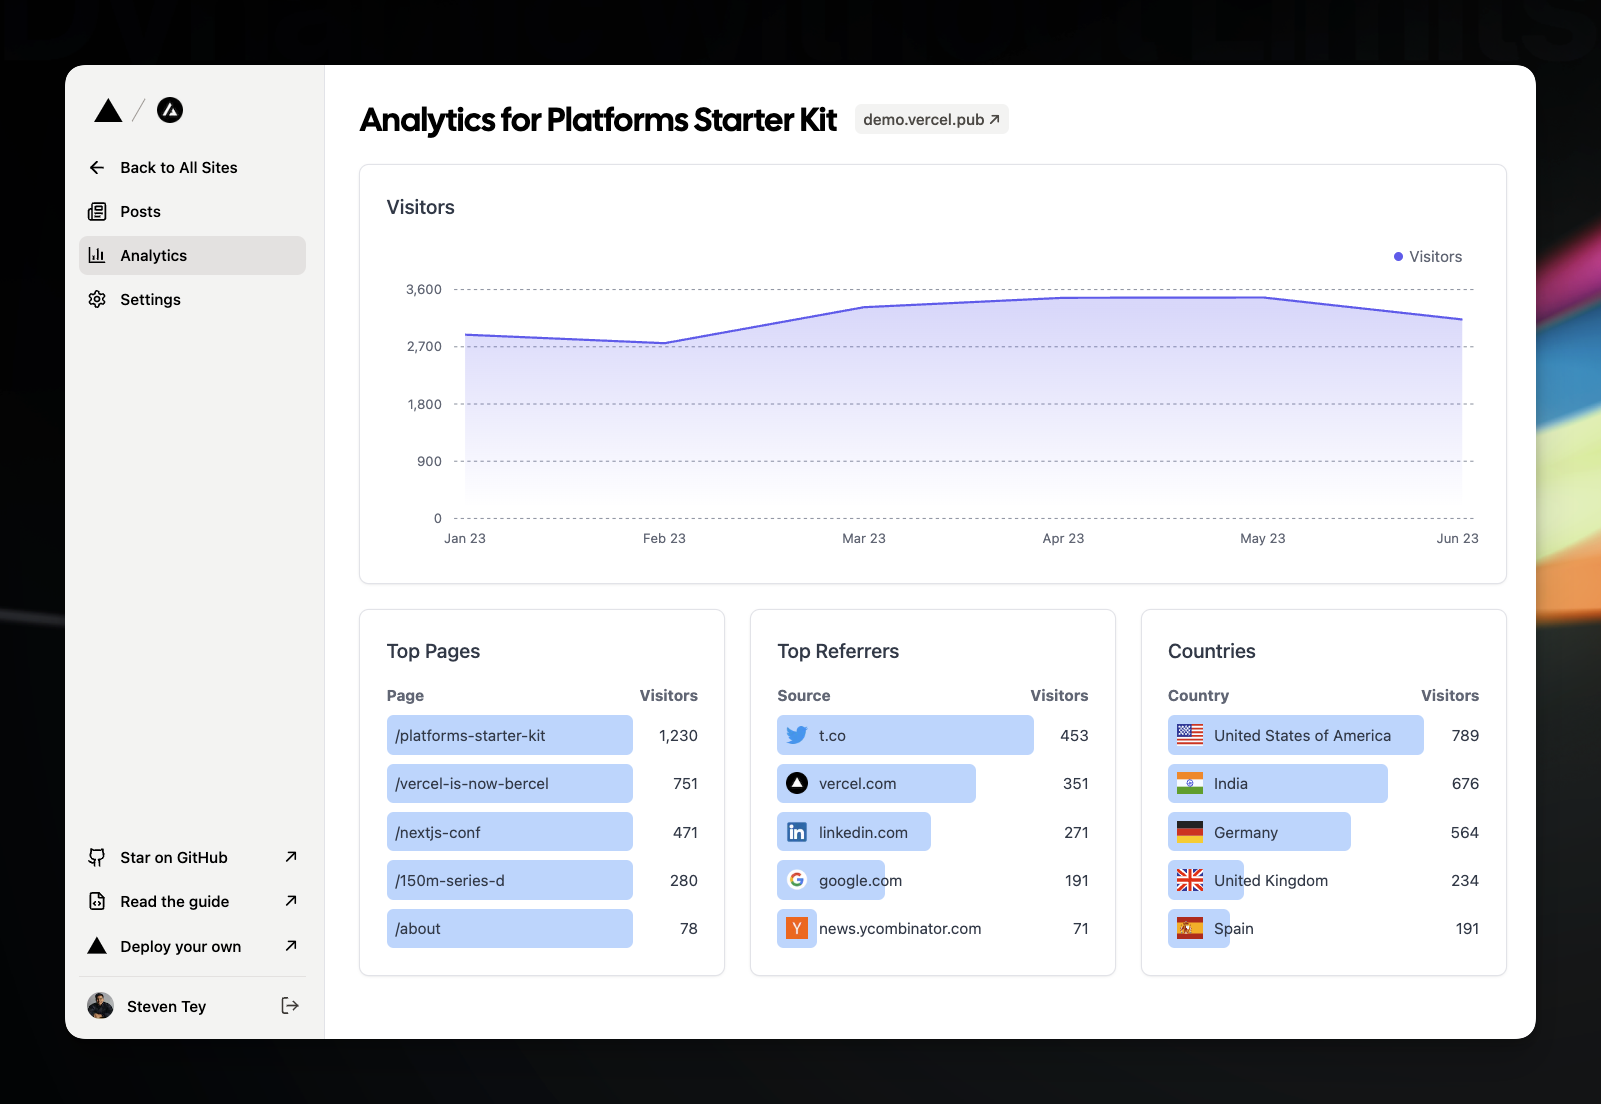
We highly recommend using a service like Tinybird to ingest, store, and visualize pageview data for each of your sites. In fact, they have an open-source starter kit that shows how you can set this up in less than 5 minutes – we highly recommend trying it out!
Conclusion
In this guide, you learned how to build a full-stack multi-tenant application by using the Platforms Starter Kit. From blogging platforms to low-code tools, this starter kit can be a starter kit for a number of different types of applications, we’re excited to see what you build!
If you run into any issues or have any questions about this guide, feel free to raise them on GitHub or drop them in the Next.js Discord.